How to Make a Bucket Hat ?
How to Make a Bucket Hat (Step-by-Step)
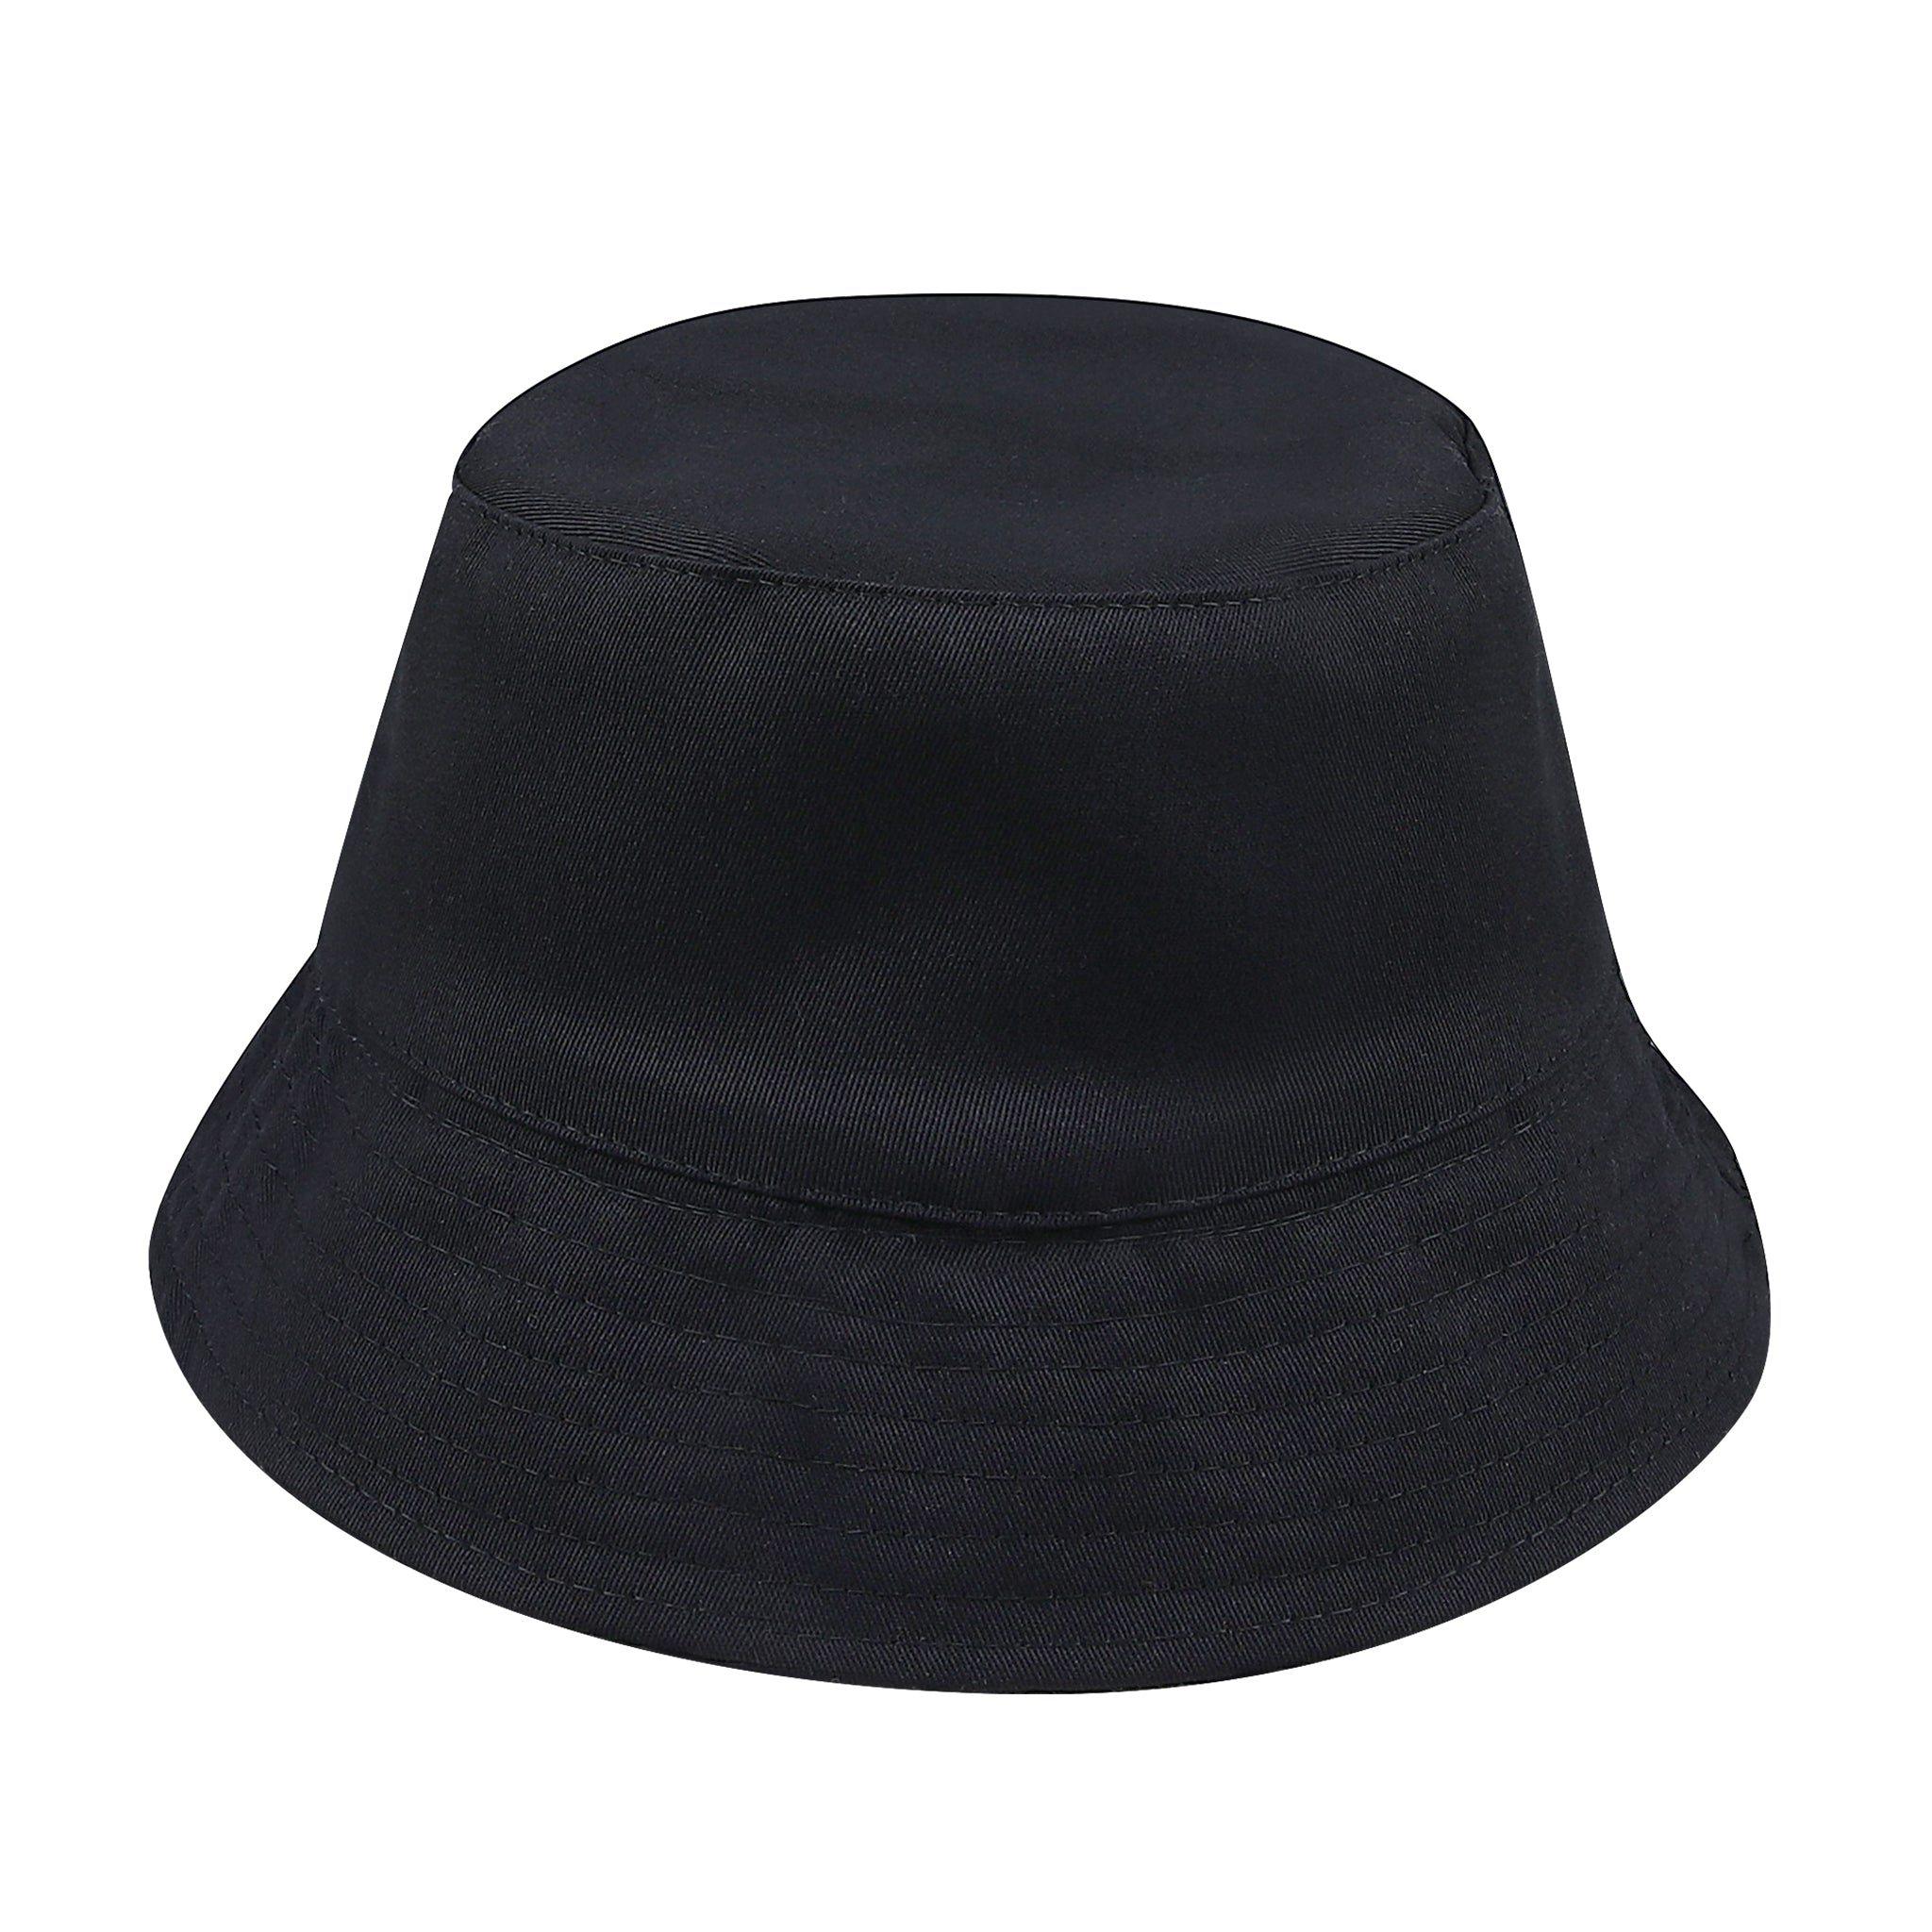
This is a practical guide for making a classic bucket hat using a sewing machine. Whether you’re doing it for personal use or small-scale production, the steps below cover structure, materials, and key techniques — no fluff.
Materials You’ll Need
-
Medium-weight fabric (cotton canvas, twill, denim for summer; corduroy or wool for winter)
-
Lining fabric (optional but recommended)
-
Lightweight fusible interfacing (for reinforcing the brim)
-
Sewing machine + matching thread
-
Fabric scissors, pins/clips, iron
-
Pattern (you can download a printable PDF or draft your own)
Basic Hat Structure
A typical bucket hat has three main parts:
-
Top (1 piece): A circle — around 17 cm diameter for adults
-
Side/Body (2 pieces): Forms the crown; height around 8–9 cm
-
Brim (2 pieces): Slightly curved rectangles; about 6–7 cm wide
Step-by-Step Process
1. Cut Your Fabric
-
Trace your pattern onto the fabric (main + lining + interfacing for the brim).
-
Cut carefully — keep seam allowances (usually 1 cm or ⅜ inch).
2. Sew the Crown (Top + Sides)
-
Join the two side pieces at the short ends to form a loop.
-
Pin the circular top piece to this loop (right sides facing). Match quarter points to distribute evenly.
-
Sew all around, clip the curve, then press the seam toward the sides.
3. Assemble the Brim
-
Fuse interfacing to the wrong side of one brim piece.
-
Join brim pieces at short ends to form loops.
-
Place the two brims right sides together, sew the outer edge, and turn it right side out.
-
Press flat. Topstitch parallel lines around the brim if you want structure.
4. Join Brim to Hat Body
-
Pin the brim to the crown (right sides together), aligning seams.
-
Sew slowly — it's a tight curve.
-
If using a lining, repeat the steps above for a second crown and attach it inside for a clean finish.
5. Finishing Touches
-
Topstitch around the base of the hat for strength and detail.
-
Steam press the hat into shape.
Pro Tips
-
Pattern: Use a downloadable template or draft it by hand based on your head circumference (average adult: 56–58 cm).
-
Fabric choice: Use structured but breathable fabric for a good balance between comfort and shape.
-
Topstitching the brim: Adds a professional look and helps the brim hold its shape.
-
Reversible? Want a two-in-one hat? Use two nice fabrics and skip the interfacing.


Comments
Post a Comment