how to dye a black hoodie ?
How to Dye a Black Hoodie: Step-by-Step Guide
Dyeing a black hoodie is a great way to refresh it, add a new color, or create a unique custom design. Whether you want to change the color entirely or just add some creative patterns, here’s a simple guide on how to dye a black hoodie and achieve the best results.
Materials You’ll Need:
-
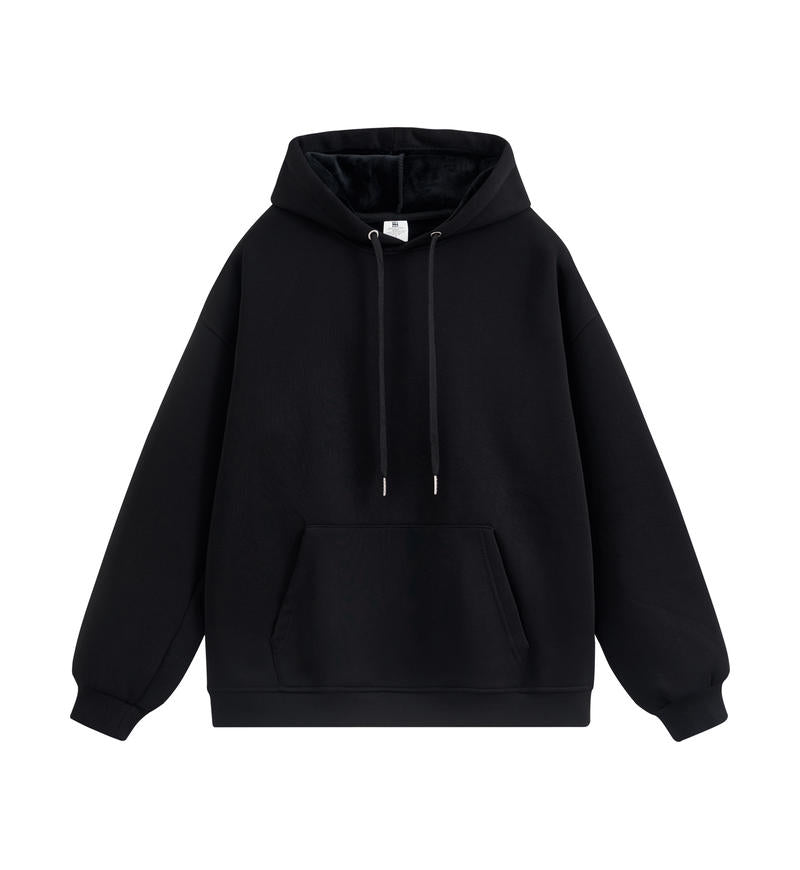
Black hoodie (preferably made from cotton, polyester, or a cotton-poly blend)
-
Fabric dye (choose a dye suitable for the fabric type—Rit dye is a popular choice)
-
Plastic container or bucket for dyeing
-
Rubber gloves (to avoid staining your hands)
-
Stir stick or tongs (for mixing and handling the hoodie)
-
Measuring cup for dye
-
Salt (helps the dye bond to fabric, if using Rit dye)
-
Soda ash (for synthetic fabrics, like polyester, to help the dye adhere)
-
Plastic bag or plastic wrap (to cover the hoodie if you're tie-dyeing)
Step-by-Step Process
1. Prepare the Dye Solution
-
For Solid Dyeing:
-
Fill your container with enough water to fully submerge the hoodie. Follow the instructions on the fabric dye package for the correct water-to-dye ratio.
-
Add the fabric dye to the water. If using Rit dye, they usually recommend 1 bottle for every 3 gallons of water.
-
Stir the dye mixture with a stick or spoon to ensure even distribution of color.
-
-
For Ombre or Tie-Dye Patterns:
-
If you're going for a specific pattern (like ombre or tie-dye), set aside smaller containers for different colors of dye.
-
Use rubber bands to secure sections of the hoodie if you're creating patterns, or use plastic wrap to fold parts of the hoodie you want to keep the original color.
-
2. Wet the Hoodie
-
Before dyeing, it’s important to dampen the hoodie with water to help the fabric absorb the dye evenly. Wet it in the sink or with a spray bottle.
3. Dyeing the Hoodie
-
Solid Color: Submerge the entire hoodie into the dye bath. Stir it constantly for even color distribution. Leave the hoodie in the dye for the recommended time (usually 20-30 minutes), checking every 5-10 minutes to see if you’ve achieved your desired shade.
-
Tie-Dye or Ombre: If you are creating patterns, apply the dye to specific sections of the hoodie using a sponge, spray bottle, or brush. For ombre, dip the bottom of the hoodie in the dye, and gradually work your way up for a gradient effect.
4. Check for Color
-
If the hoodie looks like it’s reached the desired shade, remove it from the dye bath. Remember that the color will appear darker when wet and lighten as it dries.
5. Rinse the Hoodie
-
Rinse the hoodie in cold water to remove excess dye. For even color distribution, rinse it until the water runs clear.
-
If you used a fabric softener or conditioner to prevent fabric from stiffening, rinse the hoodie again with some detergent.
6. Dry the Hoodie
-
After rinsing, hang the hoodie to air dry, or dry it according to the fabric’s care instructions. Avoid putting it in the dryer right away, as the heat can set any remaining dye residue.
Tips for Best Results:
-
Test the dye: Always test your dye mixture on a small, inconspicuous part of the hoodie first to make sure it’s the right color and texture.
-
Use salt for natural fabrics: If you’re dyeing cotton, adding salt to the dye bath can help the fabric absorb the dye better.
-
Use vinegar for brighter colors: For brighter colors, especially if you're dyeing a synthetic hoodie (like polyester), consider adding a little vinegar to the dye bath to help the color set.
Common Mistakes to Avoid:
-
Overcrowding the hoodie: If you're dyeing more than one hoodie at a time, make sure each one has plenty of space in the dye bath to allow the color to distribute evenly.
-
Not following instructions: Each fabric dye has specific instructions—whether it's water temperature, the time the fabric needs to sit, or the type of fabric it works best on. Make sure to follow these for the best results.


Comments
Post a Comment