How to crochet a bucket hat ?
Crocheting a bucket hat is a fun and beginner-friendly project! Below is a step-by-step guide to help you make your own crochet bucket hat.
Materials You’ll Need:
-
Worsted weight yarn (cotton is ideal for a summer hat) – approx. 150g
-
4.0 mm or 4.5 mm crochet hook (check your yarn label)
-
Stitch marker (optional)
-
Yarn needle (for weaving ends)
-
Scissors
Basic Crochet Stitches Used:
-
Magic Ring (or Magic Circle)
-
Chain (ch)
-
Single Crochet (sc)
-
Double Crochet (dc) (optional depending on style)
-
Slip Stitch (sl st)
-
Increase (2 sc in one stitch)
Step-by-Step: How to Crochet a Bucket Hat
1. Crown (Top of Hat)
You’ll start from the top and work your way down.
Round 1:
Make a magic ring, ch 1, and work 6 single crochet (sc) into the ring. Sl st to join.
(6 sts)
Round 2:
Ch 1, work 2 sc in each stitch around. Sl st to join.
(12 sts)
Round 3:
Ch 1, 1 sc in next st, 2 sc in next st, repeat around. Sl st to join.
(18 sts)
Round 4:
Ch 1, 1 sc in next 2 sts, 2 sc in next, repeat around. Sl st to join.
(24 sts)
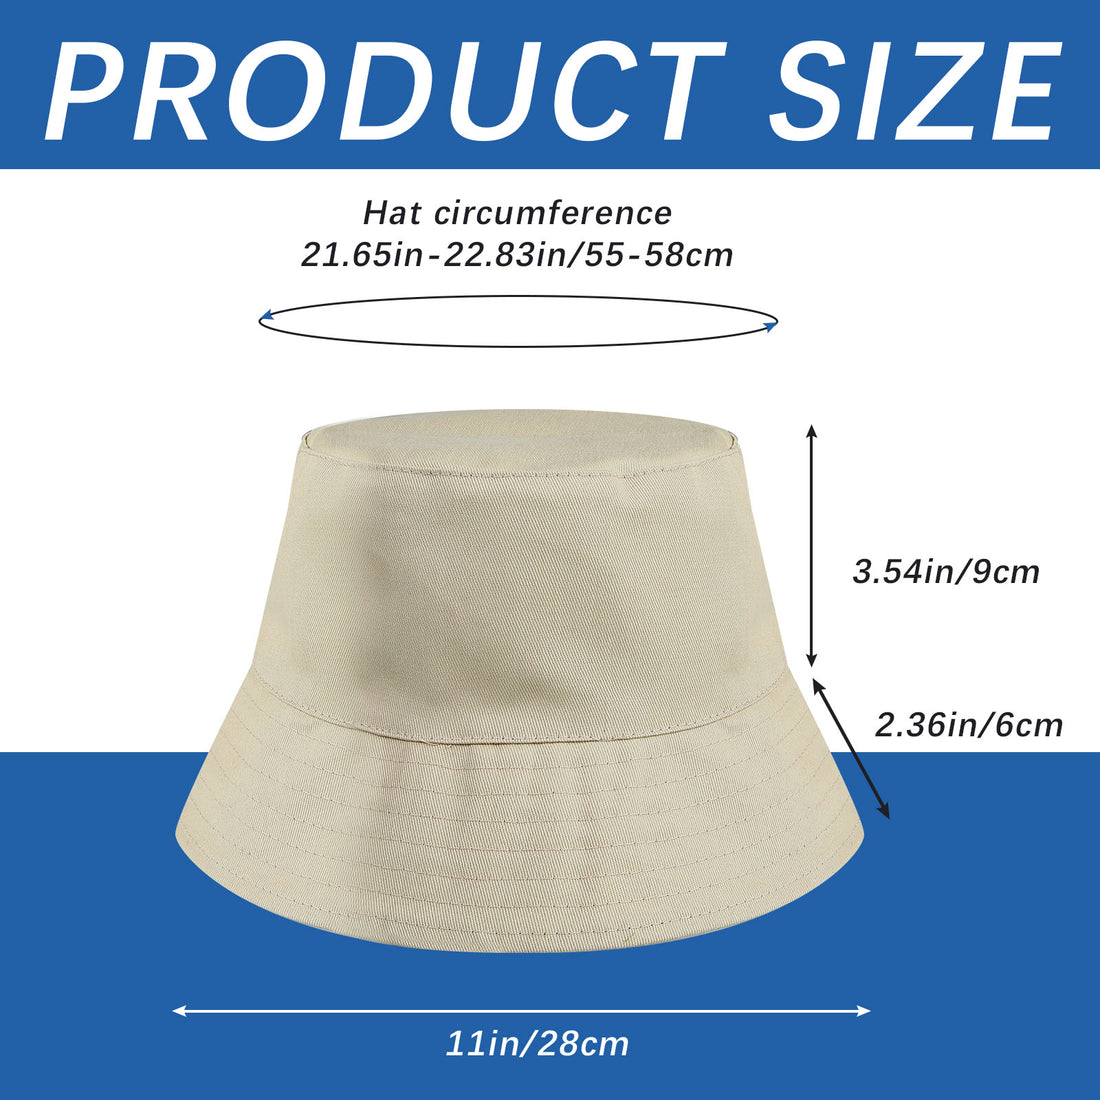
Continue increasing each round (adding one more sc between increases each time) until the circle is wide enough to cover the top of your head (usually about 6.5" to 7" / 16.5–18 cm in diameter).
2. Sides of the Hat (Body)
Once the crown is wide enough, you'll stop increasing.
Next 8–10 Rounds:
Ch 1, 1 sc in each stitch around. Sl st to join.
This builds the straight sides of the hat.
Optional: Switch to double crochet (dc) here for a different look and faster progress.
3. Brim of the Hat
To create the flared brim, you’ll start increasing again.
Round 1 of Brim:
Ch 1, 1 sc in next 2 sts, 2 sc in next, repeat around. Sl st to join.
Round 2–4 (or more):
Continue increasing every few stitches (e.g., 3 sc, 2 in next → 4 sc, 2 in next)
Repeat until your brim is as wide as you like (typically 2"–3"/5–8 cm).
4. Finish
-
Fasten off the yarn
-
Weave in all loose ends with a yarn needle
-
Block the hat if needed (lightly wet it and shape)


Comments
Post a Comment